Showing posts with label gettin' crafty. Show all posts

How To: Clean Your Makeup Brushes

Okay, I haven't done a How-To in a while. I feel this one is very, very necessary though. Ladies, listen carefully.
Okay, I have very acne-prone skin. It's a toughy subject for me to talk about because I'm so insecure in this fact. And bad skin isn't something you can just ignore so easily. It's just so...there. On your face and in everyone elses'. So you can understand I go to lengths to cover up my imperfections as much as possible. Meaning: cover up and foundation.
I have a special, very soft brush I use for my foundation. I love it.
However, a week ago I really started noticing how it was feeling on my skin...it was very...gunky feeling. Weighted down. Gross.
When I originally got the brush, it was white. Now, it was dark brownish. Yuck.
So I decided to clean my brush. (And all of my brushes)

I got this method off of Pinterest. (Ah, my love!) It's really easy. All you need is Olive Oil, Water, Shampoo and some Paper Towels.

First, run your brush under some water. You can really see just how dirty it is when the water hits the bristles.


After you've wetted your brush, put some Olive Oil in your hand and twirl the bristles of your brush in the oil. Then you can start massaging the oil into the brush; make sure you do this over sink! It gets messy. You really get to see all of the gunk that gets stuck in your brushes. Yuck!

This was just me, it didn't say to on Pinterest, but I started squeezing out my brush while massaging the oil into it. I did this for a good ten minutes and I was still getting huge globs of makeup out of my brush. I'll be cleaning it more often, I can tell you that much.
After you've massaged your oil into the brush, run it under some water and squeeze the water (and makeup) out of your brush! Hot or cold water, it doesn't matter. You'll be amazed at the gunk that comes out!


Yuck! I sometimes wonder what I'm putting onto my skin...it just looks so...bleh! I can only imagine the bacteria that could just live in that...it makes me sick and so, so glad I did clean my brushes! 

After you rinse your brush pretty good, you don't have to get every out, then you'll move onto shampoo. Try to use a mild shampoo or baby shampoo. You don't want to ruin your brush's bristles. Gently lather the shampoo into your brush and try to keep the shape of your bristles. You don't want to cause breakage. 

Then rinse when you're satisfied. And repeat if you wish. I shampooed mine twice. 

You can then squeeze the water out of your brush with paper towels then lay it out somewhere safe for a couple of ours. My brush took overnight to dry, but it's thick. Yours might dry quicker. 

I'm more confident in my brush now. It's so soft and feels great! You can bet I'll be cleaning it a great deal of a lot more often. At least once every two weeks!

I'm thinking about making a Natural Foundation soon...keep in touch!

Thanks for reading!


  post signature

How To Dye Fabric With Tea/Coffee

Hello everyone! I'm working on a secret project. 
This project is what's been taking me away from my blogging, all my friends, and everything else I usually do. I won't be able to fully reveal it for a few days, but I can reveal part of the process of my project; tea/coffee dying. I found the process on Pinterest and was really happy with the results.


First you need to pick out your fabric. The dying process works best on natural fabrics. Honestly, I'm not too sure on what kind of fabric I had. It was in the pile of scrap fabrics I keep lying around for special/recycled projects.

What you'll need:
  •  Natural Fabric
  • Tea (I used black; it tends to have a darker effect)
  • Coffee (The kind I used was actually decaf. I don't think it matters.)
  • A really big pot or a pot big enough to submerge your fabric in water

 Fill your pot with water and bring it to a boil. Then submerge your fabric in the water, making sure it gets thoroughly soaked through.

Make sure you have some very, very strong coffee brewed. 

Feel free to either brew tea, or toss the tea bags in the pot with the fabric. I used tea bags, a lot of tea bags.

Pour the tea and coffee into the pot with your fabric(s).

Stir the fabric so that the coffee/tea mixture soaks in completely.

Leave the fabric boiling in the pot until your satisfied with the color of your material. (I left mine in for about an hour and a half.) Then I washed the fabric out with cold water until it ran clear. 

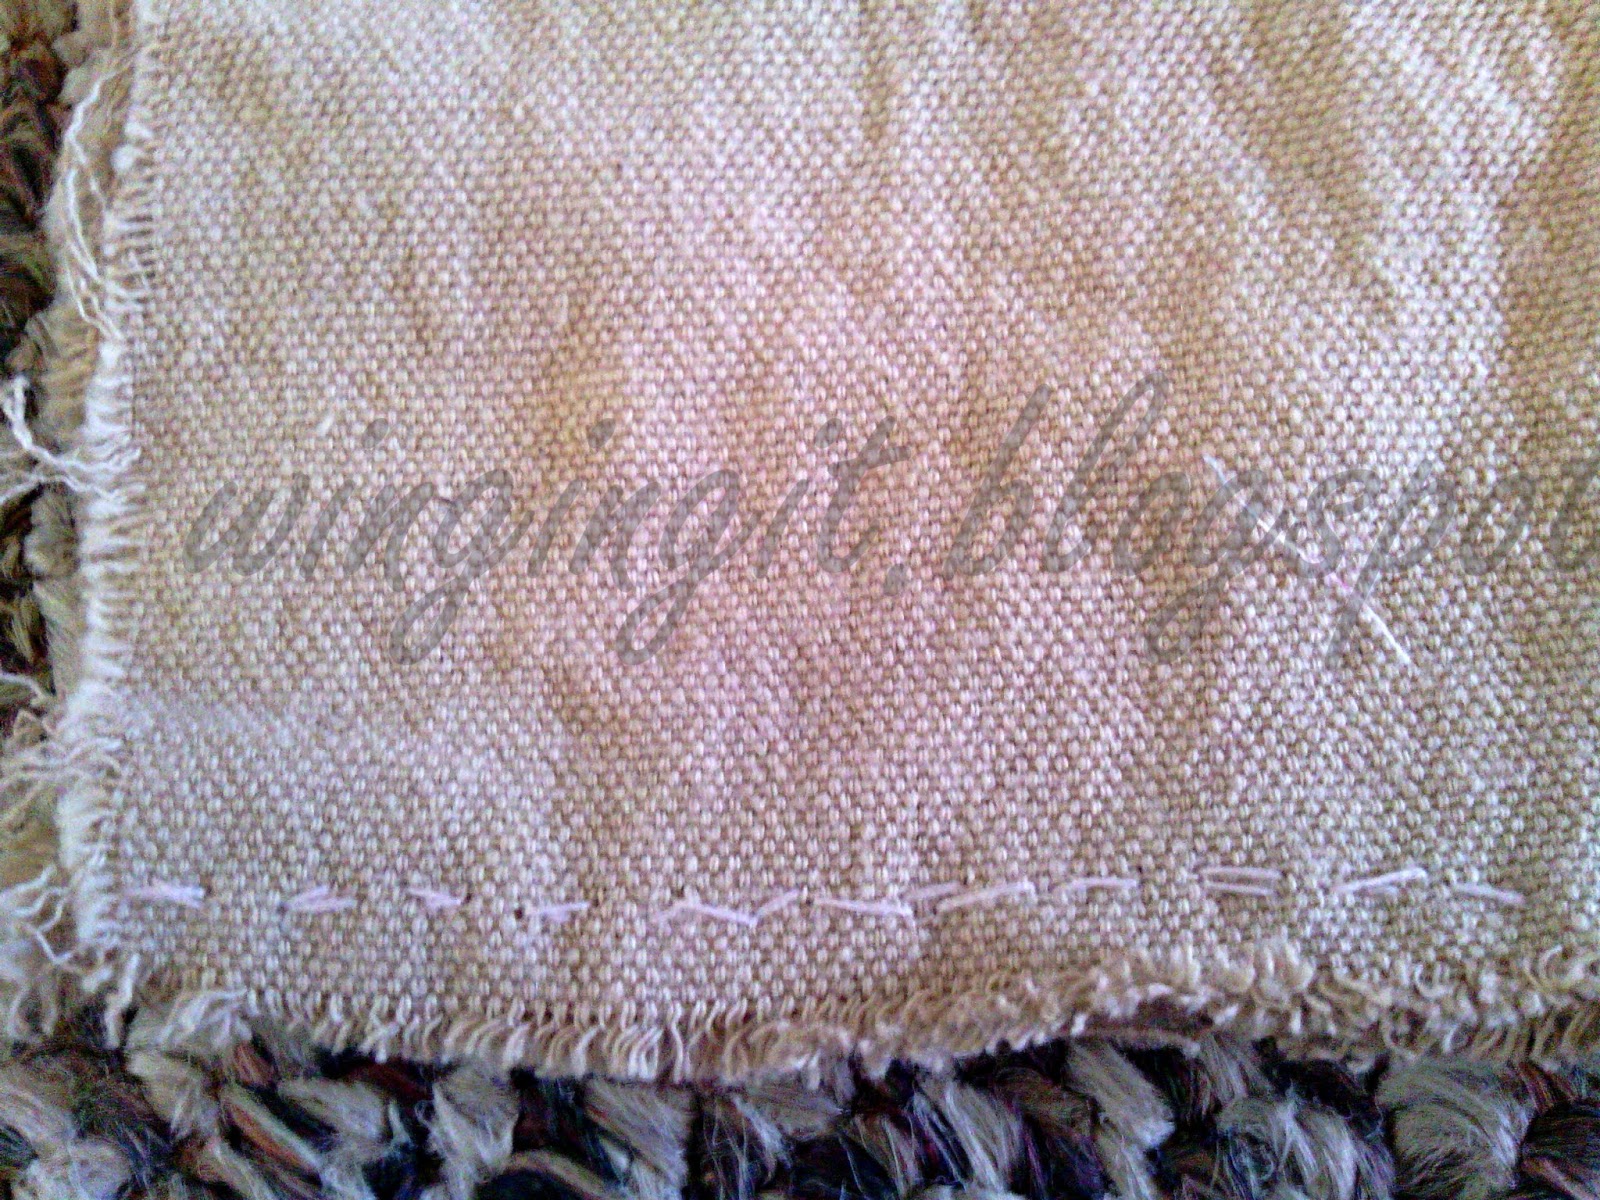
I then put the fabric in the dryer and I loved the end result! (This isn't really a very good picture. The "before and after" photo really shows the fabric better)

Ta-da! That's how you dye fabric with tea and coffee! Oh, and whatever you decide to do with the fabric will smell like coffee. And tea. It'll smell good. I love it; it's all earthy and ahhhh...
Feel free to comment or email me any questions!
Til' next time, thanks for reading!

-Sarah


Miss Sewing Monster

A sewing monster has been born. My mother (I love you mom!) asked me to write a list before this last Christmas. I, for sure she was only half serious, wrote one just soothe her. I wrote ridiculous things on that list (plane tickets, a new camera, a camcorder, a new car, ect, ect). I also wrote a few serious things (an easy-to-use sewing machine, a GPS for travel, headphones, socks, ect, ect)

My mother got me a sewing machine. It even had "easy-to-use" in the title. I've been hand-sewing for a couple of years. It comes naturally, and I kind of like the long time it takes. Makes everything I sew even more precious. However, this last project has me pressed for time, so I got out the sewing machine.
I've never used a sewing machine before in my young eighteen year old life. It was complicated but I'm getting the hang of it.


I read the directions at least 3 times over before actually preforming the threading steps.

I just practiced on a scrap piece of fabric I had. 

It took me a bit to get the hang of it though...

I think I did okay though. :) Hand-sewing just seems so less complicated, but even just sewing this little square together would have taken me about an hour with all the stitches put into it.
Sew,Mama,Sew! has a lot of cute, free ideas to sew I might use.

I can't wait to get started on some real projects now though. I have a few skirts I've been meaning to try, and a dress I found on Pinterest. I have to find some things I can sew up for Austin too. What I like he has to like, period. If I like sewed little trinkets, he has to...haha : )
But I've also got to get this first little project out of the way. I can't say anything about it yet, but I will when the time comes! Promise.

Oh, and in addition to the healthy lifestyle I'm adopting, I've decided that I will try a different tea every day; preferably in the mornings before exercising! Today's was "White Tea Berry" made by Mount of Olives Treasures.
It was pretty good, one of my favorites I've had so far. I didn't put anything in it, but I chilled some of it after I tried it warm. It was really good with some ice. I think it's the berry taste.

Thanks for reading!

-Sarah